Today we will learn how to create Database Table in MySql workbench:


First we need to create Schema then to that schema we can add tables and insert data into that tables
1. Open Mysql Workbench

2. Open Database menu click on Connect to Database
3.
Change Stored Connection: First
default with local some server but we have to make it blank
4.
Click Button Store in Value and
enter password in the above screen and press OK button
5.
Click on Ok Button
6.
Click on + Database icon for
create a new schema
7.
Enter new schema in this example I am using
yearly and click and apply button.
8.
Then this screen appears
9.
And again click on apply button
10.
Click finish button
11.
Again click on Apply button
12.
Now schema created next we have to create Tables
to that schema
13.
Enter table name And double click
14.
1 5.
Enter column name and Data type
1 6.
Enter double click for Create other columns as
per requirement
1 7.
1 8.
1 9.
Click on Apply button
10.
Then this screen appears
11.
12.
Check the syntax and fields and click on Apply
Button
13.
Then click Finish Button. Now
table created
14.
In two ways you can add data to table first by
using Insert statement and second by Gui grid base
Click on Apply Button
15.
Click on Finish Button.
16.
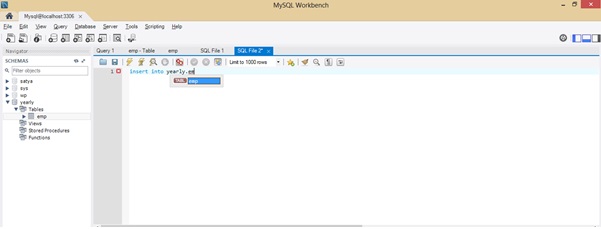
Second method to by Insert Statement for that create
new Sql Editor
17.
Then enter script like this
18.
press this execute icon as shown below
19.
Then to view in grid
3
3
That’s it we have learnt about creation of
table and inserting data values into tables with 2 ways.
Related Topics:
Ubuntu Cloud Computing Ecommerce
Related Topics:
Ubuntu Cloud Computing Ecommerce
No comments:
Post a Comment